Everyone has their moment... And mine is here to STAY!
As many of you have already found out via my incessant yapping on Facebook, I have finally created an online home for Lilikoi Specialty Boutique! It's still a wee little baby, but guess what, babies grow up to achieve big and wonderful things!
As a part of opening up my website, I was also able to incorporate my blog into one of the sections. So please be patient with me as I slowly begin to transfer all this overwhelming amount of content over to the new site (insert sheepish grin!)
I will leave this blog up and running in case anyone happens to wander over here, but the new site will be the primary Lilikoi blog.
*You can visit Lilikoi's current blog here.
Or visit www.lilikoilace.com
Sunday, July 14, 2013
Wednesday, May 8, 2013
Scrabble Ring Tutorial: including tricks of the trade!
I seriously think scrabble rings are the easiest jewelry to make and the possibilities are endless! I have even made one using a friend's business image!
So as promised, here is my take on how to make your very own Scrabble Rings. I know there are many tutorials out there on how to make these adorable little doodads, but I'm hoping you will like mine better!

You will need:
- cutting mat and x-acto blade (optional, you can also use a plain ol' pair of scissors for cutting, but I find that the x-acto blade delivers a precise and clean cut every time.)
- glue of choice (jewelry glue is my little secret, but the choice is yours!)
- Mod Podge's Dimensional Magic (although resin is the way to go if you want perfect results, the Dimensional Magic does a great job as well and is easier to work with, meaning you don't have to mix chemicals.)
- A standard scrabble tile
- ring base
- Graphic of choice
- Toothpick

Next, take your graphic and cut it down to size. Center the image to the tile and glue.
Here I will tell you another secret that other tutorials often don't mention: make sure you apply a protective coating onto your image at this stage. You can use anything, Mod Podge, craft sealant or varnish. Because if you don't protect the image, the glaze will cause damage and ruin the finished product. Let the image dry completely before moving on to the next step.

Once the tile has dried, turn the tile over and trim the edges down using the x-acto blade.

Now take the bottle of Dimensional Magic and slowly begin to pour the glaze onto the tile surface.
It is important to be patient here and apply slowly, a few drops at a time, because you don't want the glaze to overflow.

Make sure to use the bottle tip to spread the glaze as far out to the sides as you can, then take a toothpick and spread the glaze out to the edge of each corner until the entire tile is covered. The glaze is very thick and will not overflow as long as you go slow. Also note that at this point the glaze looks very cloudy, but will clear up nicely once it dries.
Now comes the toughest part: leave the tile alone! Once the glaze is poured try not to move the tile until it has set and cured. I always let it cure at least 3 days.

Once cured, the glaze will harden and become clear. You can now flip the tile over, apply glue to the back and stick the ring base on. Give another day for the glue to set.

Voila! You just created a totally funky piece of jewelry! Get creative with the graphics, you can use pretty much anything! Scrapbooking paper, old photos, or even design your own.
If you decide to give it a try, I would love to hear about it. And as always, comments and suggestions are welcome. Enjoy! :)
Monday, March 18, 2013
Dark Chocolate Espresso Cookies
My girlfriends and I whipped these super quick yummy cookies today while enjoying some much needed yapping and movie watching. This recipe is so good I would be committing a sin if I don't share it with the masses! So here it is!
If you try it out please post here and let me know how they turned out for you!
Dark Chocolate Espresso Cookies

Ingredients:

1 cup unsalted butter, softened
6 Tbsp granulated sugar
1/4 cup firmly packed light brown sugar
1/2 cup coffee liquer
2 2/3 cups all purpose flour
2 tsp instant espresso
1 tsp baking soda
1/2 tsp ground cinnamon
1/4 tsp salt
1 cup chopped roasted almonds
dark chocolate kisses
Directions:
 |
| Preheat oven to 375 degrees. Beat butter at medium speed with electric mixer until creamy. Gradually add the brown and white sugars, beating well. |

Now gradually add the coffee liqueur.
Mix well.

At this point, stop your mixer and use a silicone spatula thinger to scrape down the batter stuck to the sides.

Now go ahead and gradually add the flour, followed by the espresso, baking soda, cinnamon, and salt.
Beat at low speed until well blended.

Once the dough takes shape, if desired you can wrap it in plastic wrap and store it in the refrigerator up to 1 week.

When ready to bake, form 2 inch balls of dough and roll around in the chopped almonds.
Place the dough balls 2 inches apart onto a greased baking sheet.
Bake at 375 degrees for 10 to 12 minutes or until edges are golden.

Remove from oven and immediately press 1 dark chocolate kiss into the center of each cookie.
Let the cookies cool completely.
I hope you enjoy these addicting little buggers!
And again, if you try out this recipe, please do stop by and let me know how you liked them :)

Tuesday, March 5, 2013
Art Expo Antics
We had the opportunity to exhibit at the Uptown Art Expo in Altamonte Springs last month. It was definitely a learning experience and so much fun! Here are a few highlights.


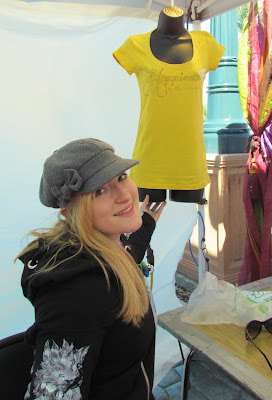


One of my favorite shots taken by my talented hubby :) Andrea, Vanya, and Katie representing the Lilikoi love!

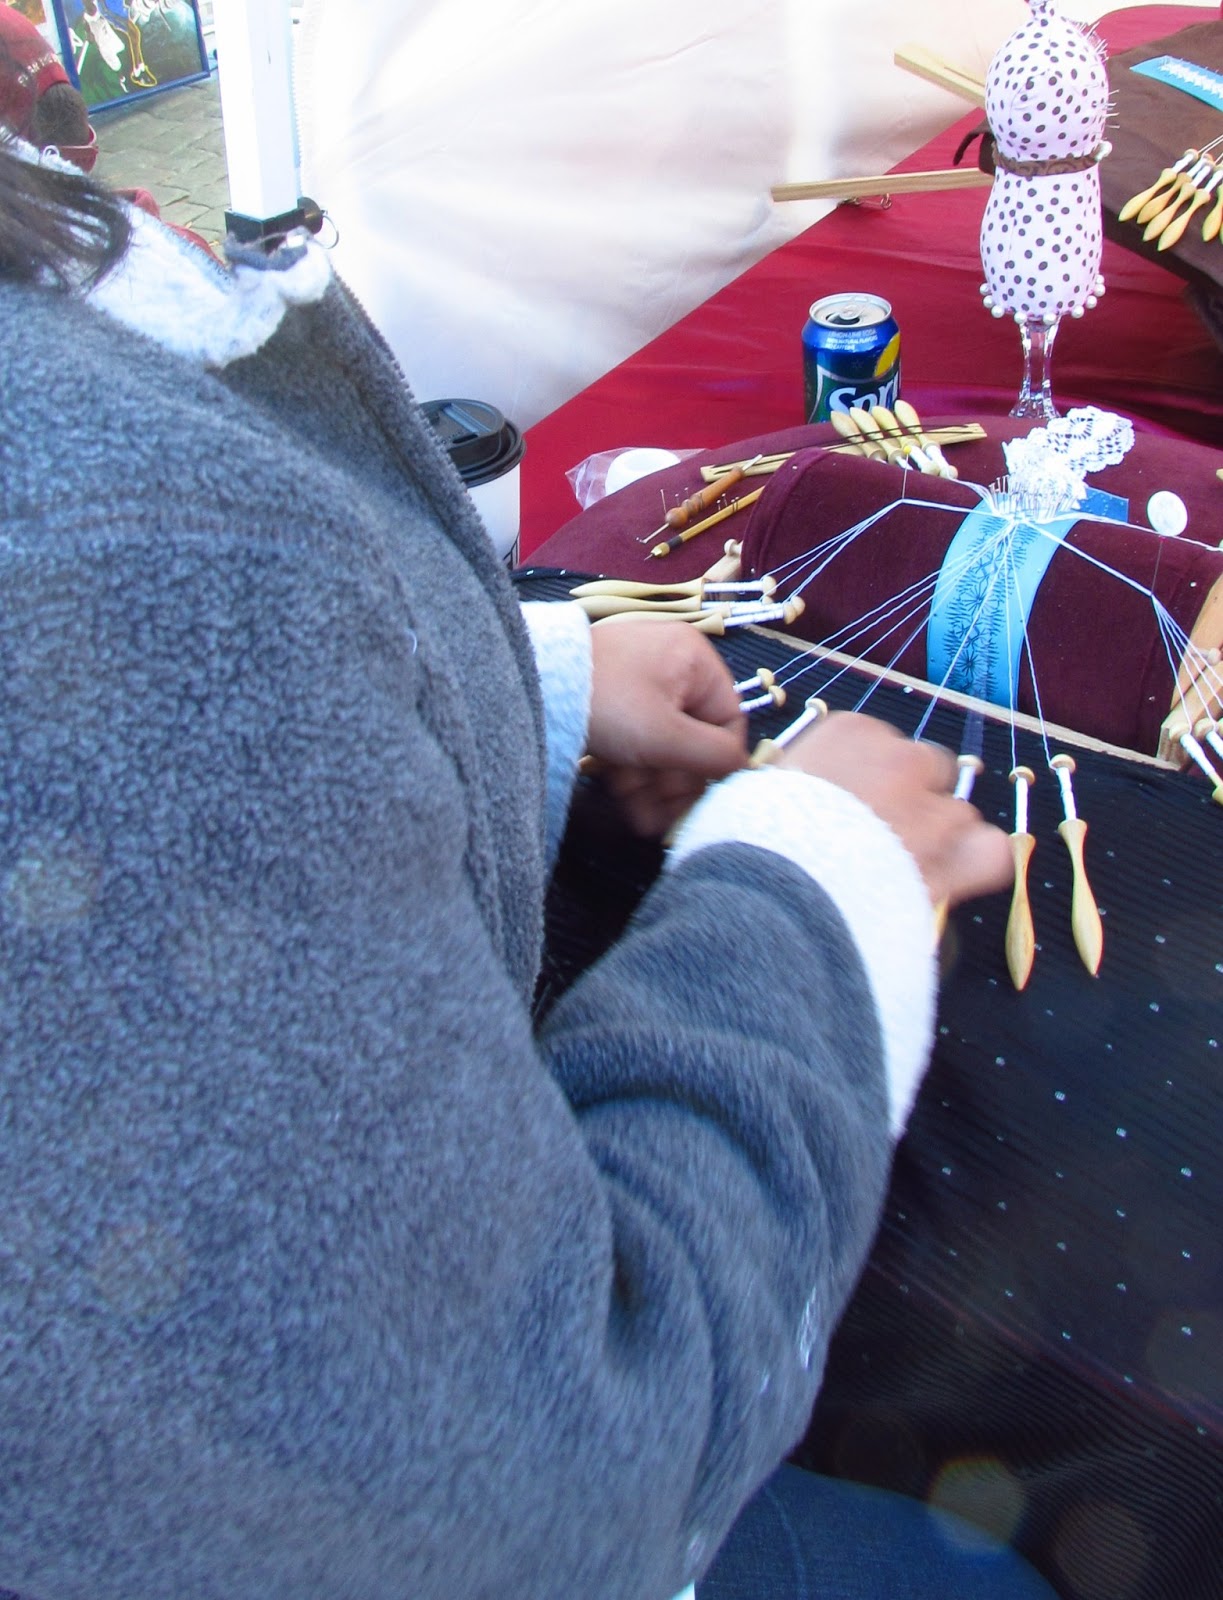
I was SO happy to see so many people stop by and ask all kinds of questions about the lace I was making. I don't think I stopped talking lace for more than a few minutes, it was a dream!

Katie added her beautiful hand designed tees to our little shop of lovelies.

I must say I was quite proud of our setup and displays. There is always room for improvement, but it was a good start!
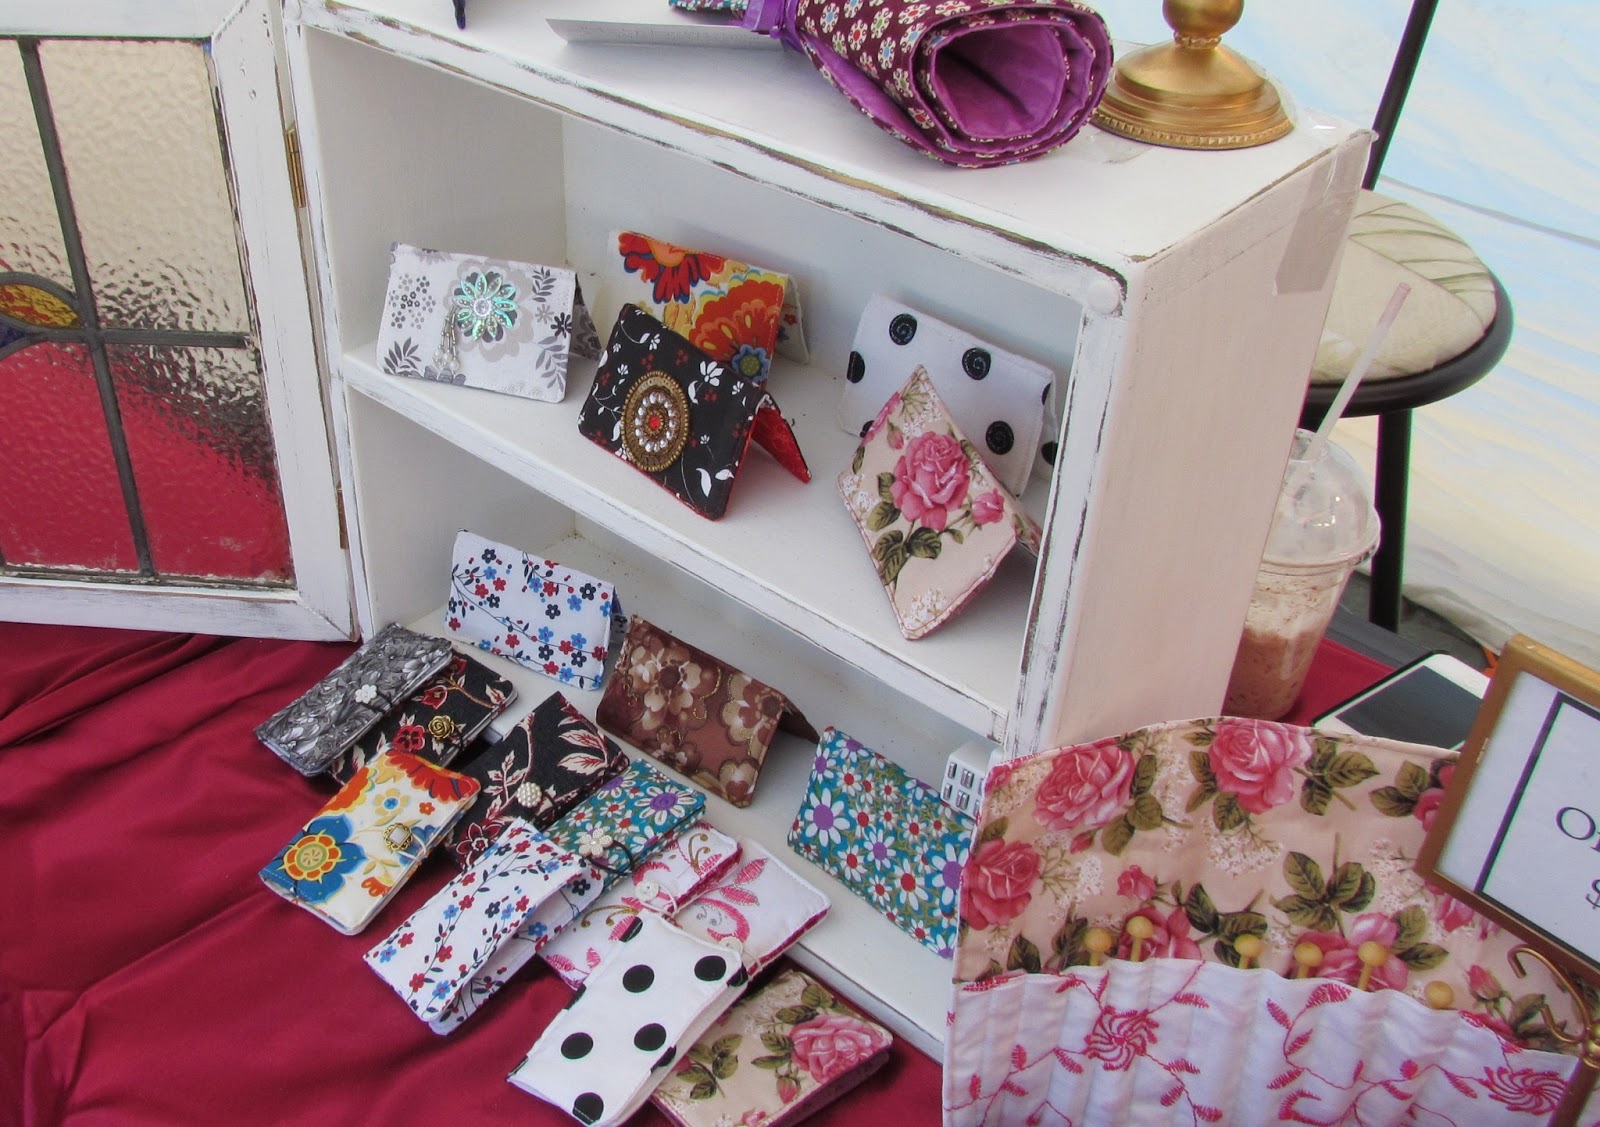
I love LOVE love that stained glass cupboard. It is just perfect for displaying!

Of course the lace embellished card cases get a spotlight of their own.

Andrea added her adorable badge reels to the mix and they were a total hit!

The "try it yourself" lace making pillow was an instant hit!

What an amazing team of lovely, talented ladies! :)
Thursday, January 24, 2013
Lilikoi's Etsy Shop Opens Today!
Finally! Finally! I created Lilikoi's Etsy shop!
Granted it's a bit sparse, but I am counting on some time this weekend devoted entirely to more product photography and putting up new listings.
Check it out RIGHT HERE! Do it! Now!
And speaking of photography, for those of you who are interested I found a great tutorial on Handmadeology for taking professional product pictures on a cheap-o budget. GO HERE to see it and let me know how you like it if you try it out!
Subscribe to:
Comments (Atom)